Auto-reply automatically sends a preset message when you’re unavailable. Here we guide you step by step on how to easily set up auto-reply through your control panel.
- Log in to Control Panel
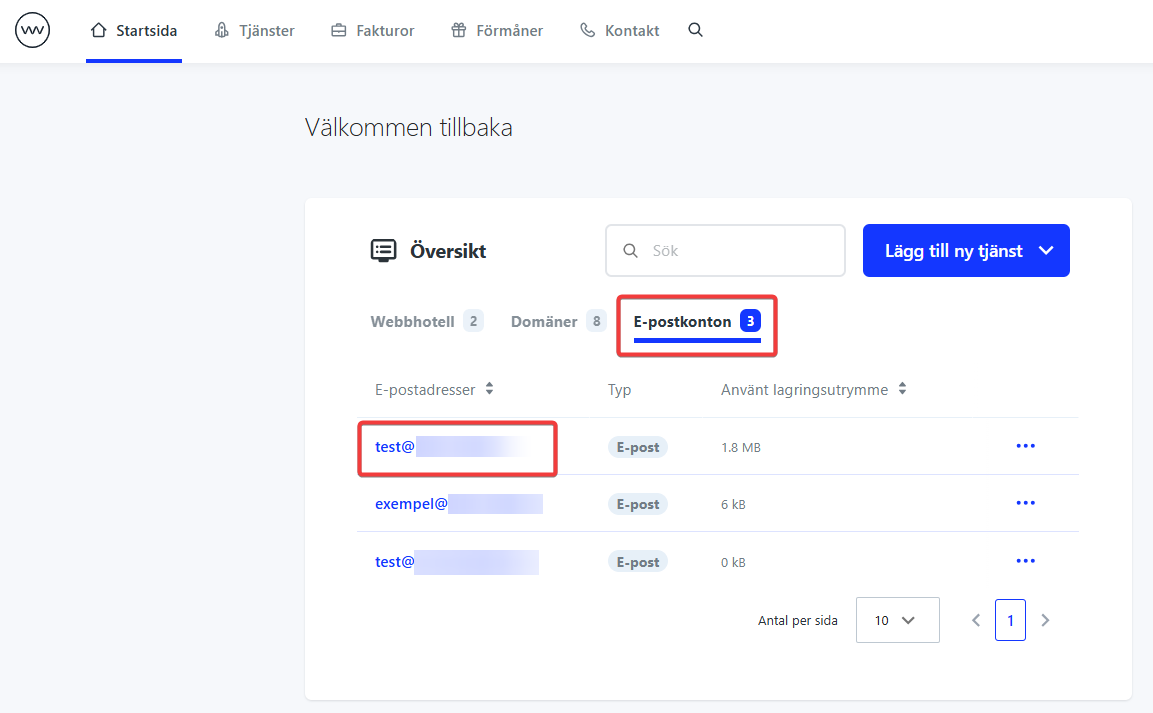
- Click the “Email” tab in the overview
- Click the email address in question
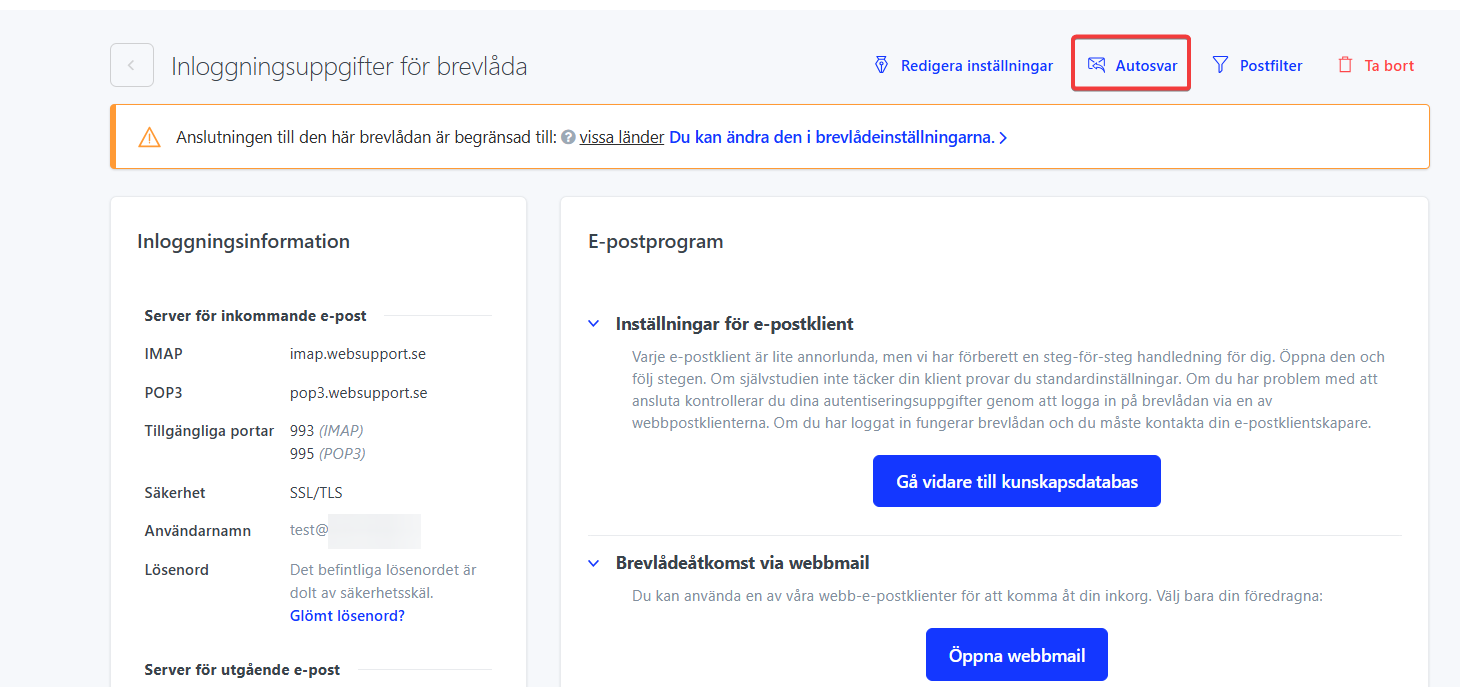
- Click “Auto-reply” in the upper right
- Click the checkbox for “Auto-reply”
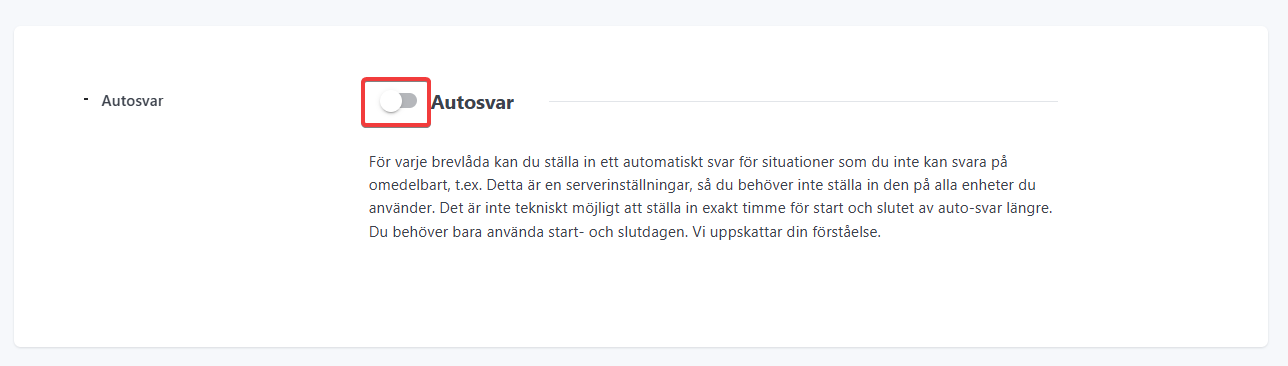
- Here you can set the start and end date for the auto-reply. For example, you can set it for vacation. If you leave these date fields empty, the auto-reply works indefinitely.
The “Reply frequency” field sets how often the auto-reply should work. This applies per sender address. If set to “Once a day”, the auto-reply is sent once per day for each address that emails you.
Then choose the subject line and message for your auto-reply.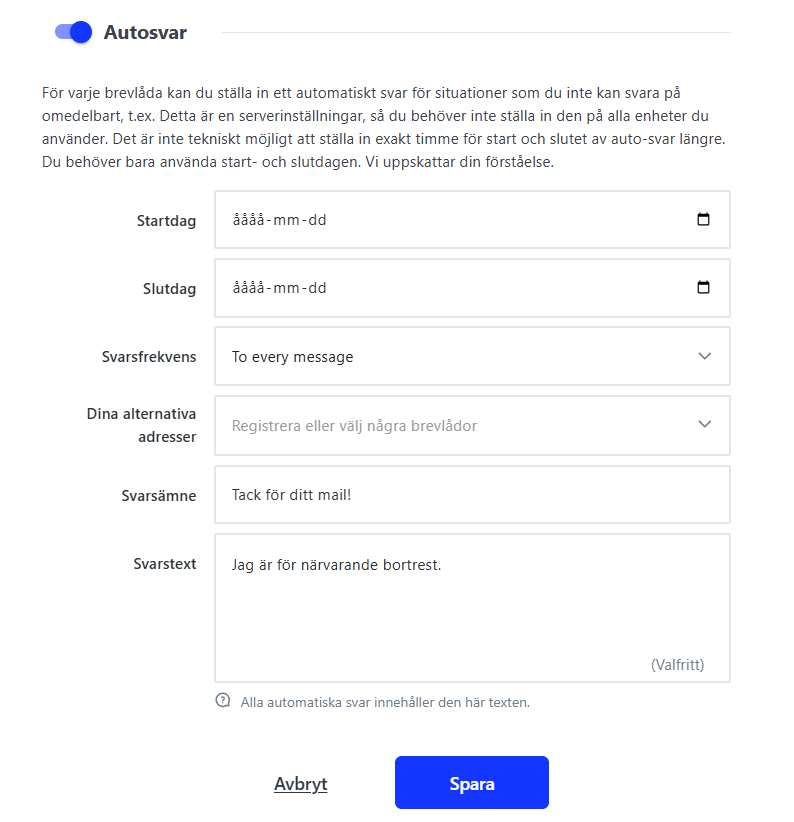
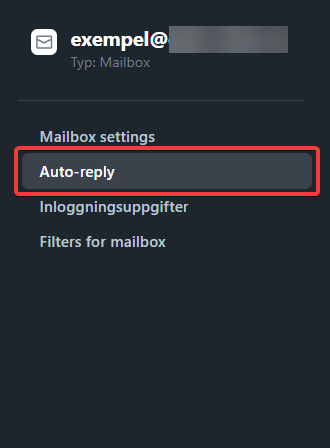
If you’re not an administrator for the account, you can instead log in with your email address via this link: https://auth.websupport.se/?account=email&s=admin
Enter your email address as the username and your email address password (the same as you use to log in to our webmail, for example). Then click “Auto-reply” on the left after you’ve logged in.