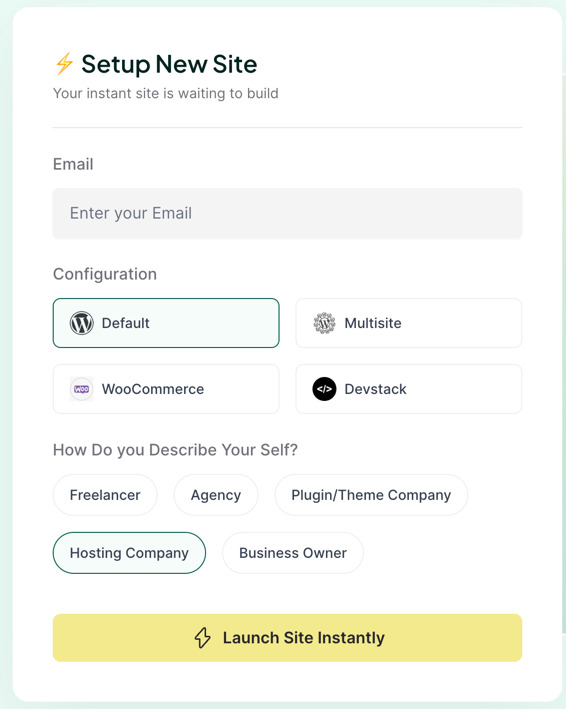
Create a working copy of your WordPress site with our simple guide. Want to experiment with new extensions, themes or updates without risking your live site? Follow our steps to create a secure WordPress staging copy. Simply use the InstaWP extension to create your copy.
- Create a free account with InstaWP
Get started by creating your account on InstaWP. They offer different payment plans and a free account for up to 3 websites with 1 GB of storage space.
- Installing and activating the InstaWP plugin directly from your WordPress dashboard
Log into the admin dashboard of the WordPress site you want to create a staging environment for and download and activate the plugin from InstaWP.
Psst… Have you forgotten your login? It happens to even the best – check out our guide on how to easily reset your password.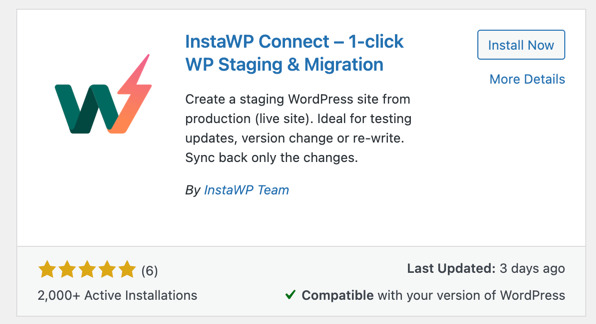
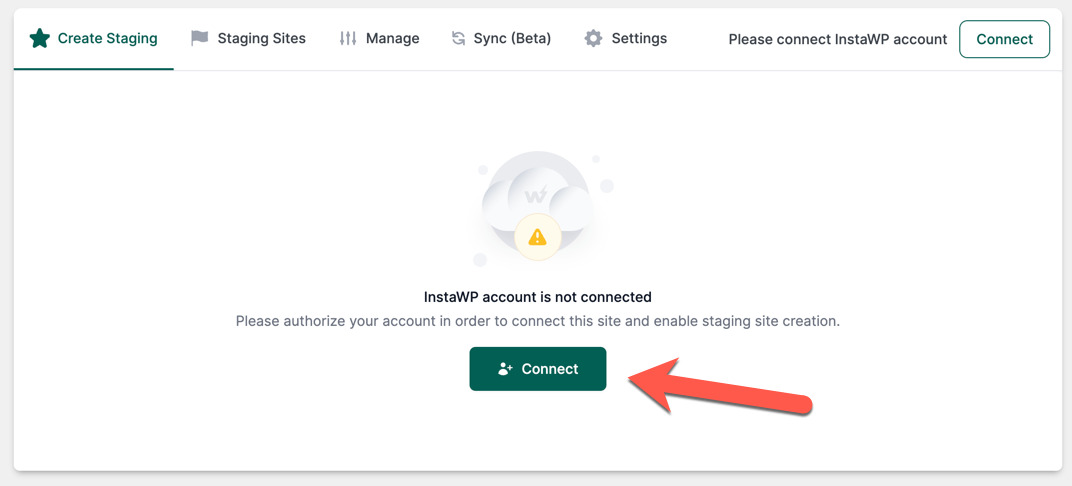
- Easily pair the extension with your InstaWP account via the settings.
Jump to the InstaWP settings in your WordPress and click the green “Connect” button to log in with the account you created in the first step.
- Create your WordPress Staging site with InstaWP
Now it’s time to copy your website into the working environment where you can test and experiment without the risk of something going wrong with your live site.
Select which parts you want to copy over to the working environment. Choose to include the entire page or skip media files for faster copy times.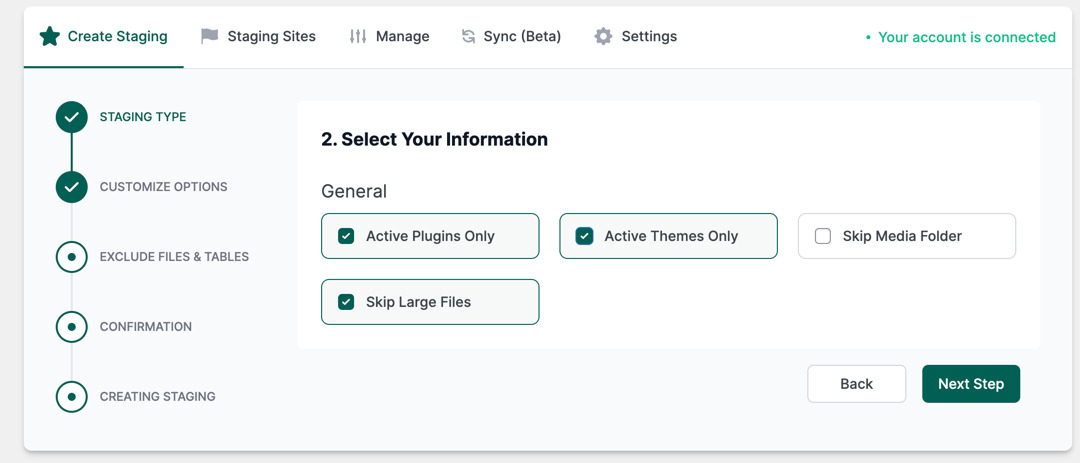
- Log in to your Staging page
Once the copy is complete – which may take a little while depending on the size of your website – log in directly to your newly created staging copy from the control panel.

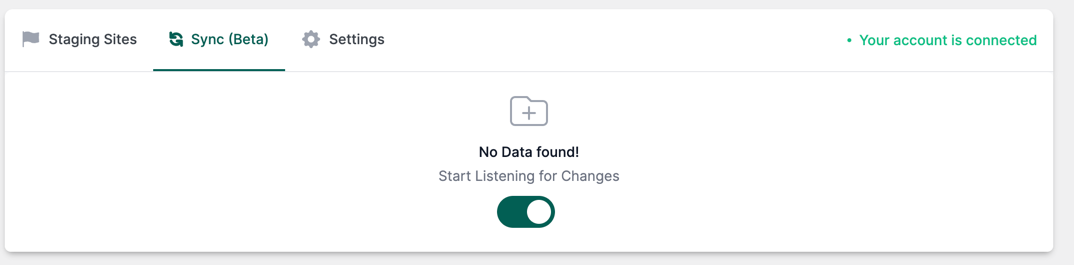
- Enable synchronization
When you’re logged into your staging copy that you just created, make sure that “Start listening for changes” is enabled in InstaWP. This allows the tool to monitor and save any changes you make to the website.
- Test and adapt
Try new extensions, updates and settings on your staging site without affecting your live site. Once you’re happy with the changes, you can easily sync them back to your live site by selecting “Sync” in the InstaWP extension.
If you just need to test your site in a different PHP version, do it easily on the InstaWP website. However, please note that this is usually not necessary for you as a Websupport customer, as this feature is already available in your control panel with us.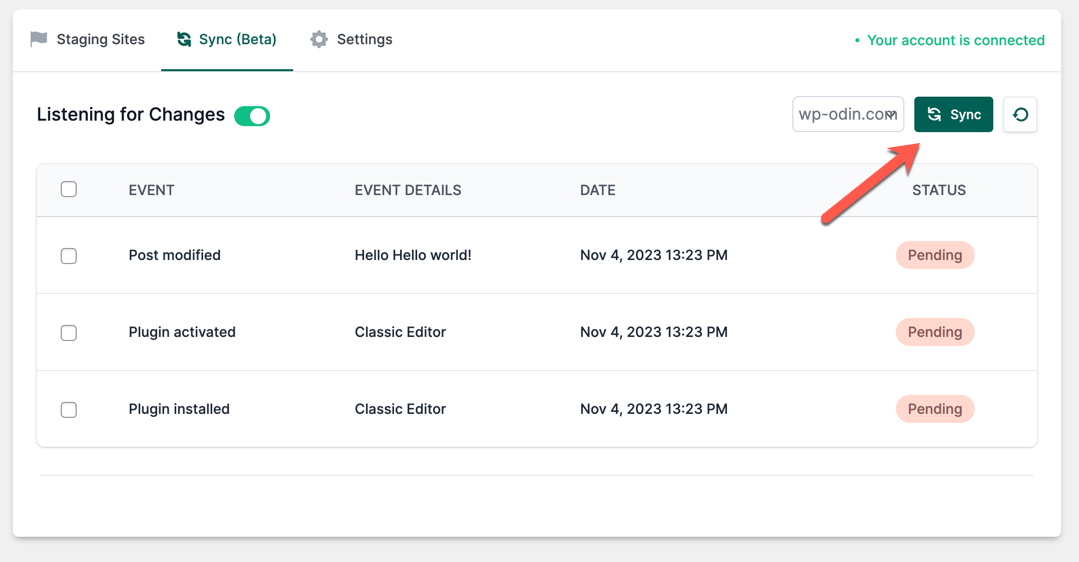
- Check your Live page
Check your regular page to make sure everything looks good. Don’t forget to clear any browser and extension caches on your site. If you have followed the guide, your page should now be updated and working as usual. If not, use the backup function in the control panel to restore.
Haven’t started using your WordPress yet? Learn more about how to install WordPress on your domain quickly and easily with our OneClick Installer.