
Instructions for beginners
WordPress is the most used CMS on the internet – great for websites, blogs, and online stores. It’s free and user-friendly, and with our OneClick Installer, installation takes just a few minutes.
Install WordPress
- Log in to admin.websupport.se.
- In your service overview, click Add New Service → Add a Website.
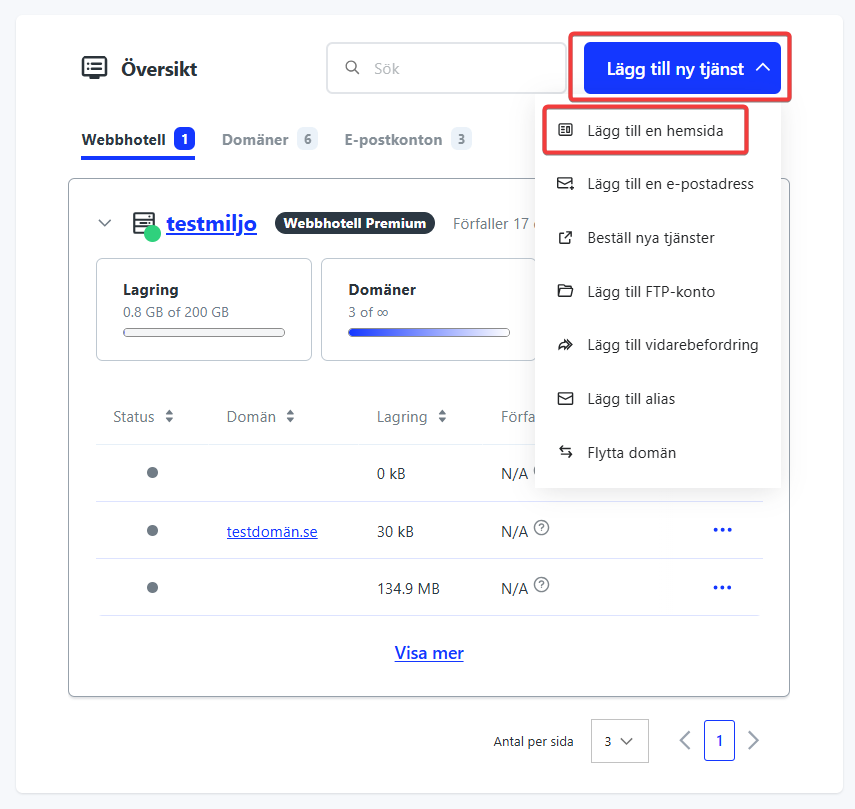
- Select the domain where you want to install WordPress.
- Click Install next to the WordPress version you want to use (see below).
Which should I choose?
There are three WordPress versions to choose from:
- WordPress – Standard WordPress installation. Good if you want full control and build your site from scratch.
- WordPress with AI – Our WordPress installation with an AI assistant. Lets you quickly generate a complete website with text and design tailored to your business.
- WebSupport Edition of WordPress – Our customized version with pre-installed plugins and settings optimized for our hosting. Suitable if you want to get started quickly with best practices in place.
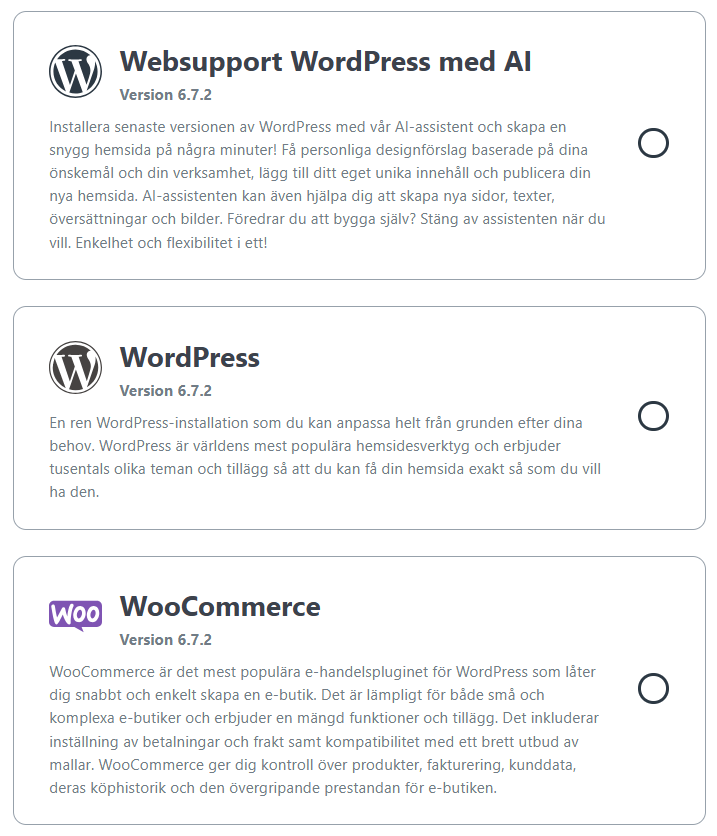
Fields to Fill In
When you click Install, fill in the configuration:
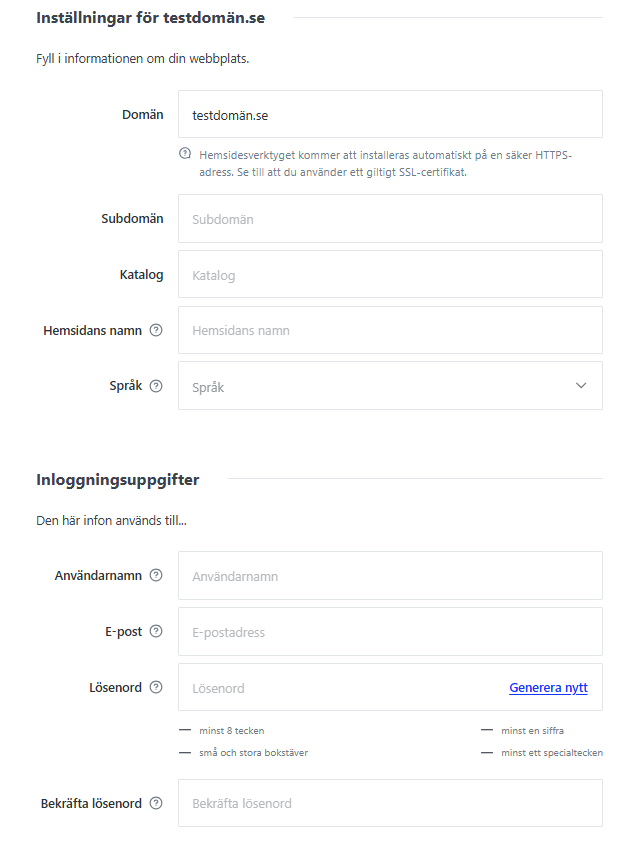
- Domain – URL/domain for your website.
- Subdomain/Folder – Fill in if you don’t want to install on the main domain. For example, “wp” in Subdomain gives wp.yourdomain.se, in Folder gives yourdomain.se/wp.
- Website Title – Shown in the browser’s title space, important for SEO.
- Language – Settings language, can be changed later.
- Username – What you log in with to the WordPress admin panel.
- Email – Used for password changes and important notifications.
- Admin Password – The password you log in with to your WordPress administration.
Once you’ve filled in the details, click Finish Configuration. After installation, you can reach the WordPress admin panel at yourdomain.se/wp-admin.

