This guide shows you how to change your email settings after moving to our new platform. However, the same steps are followed if you have an iPad.
Navigate to the settings
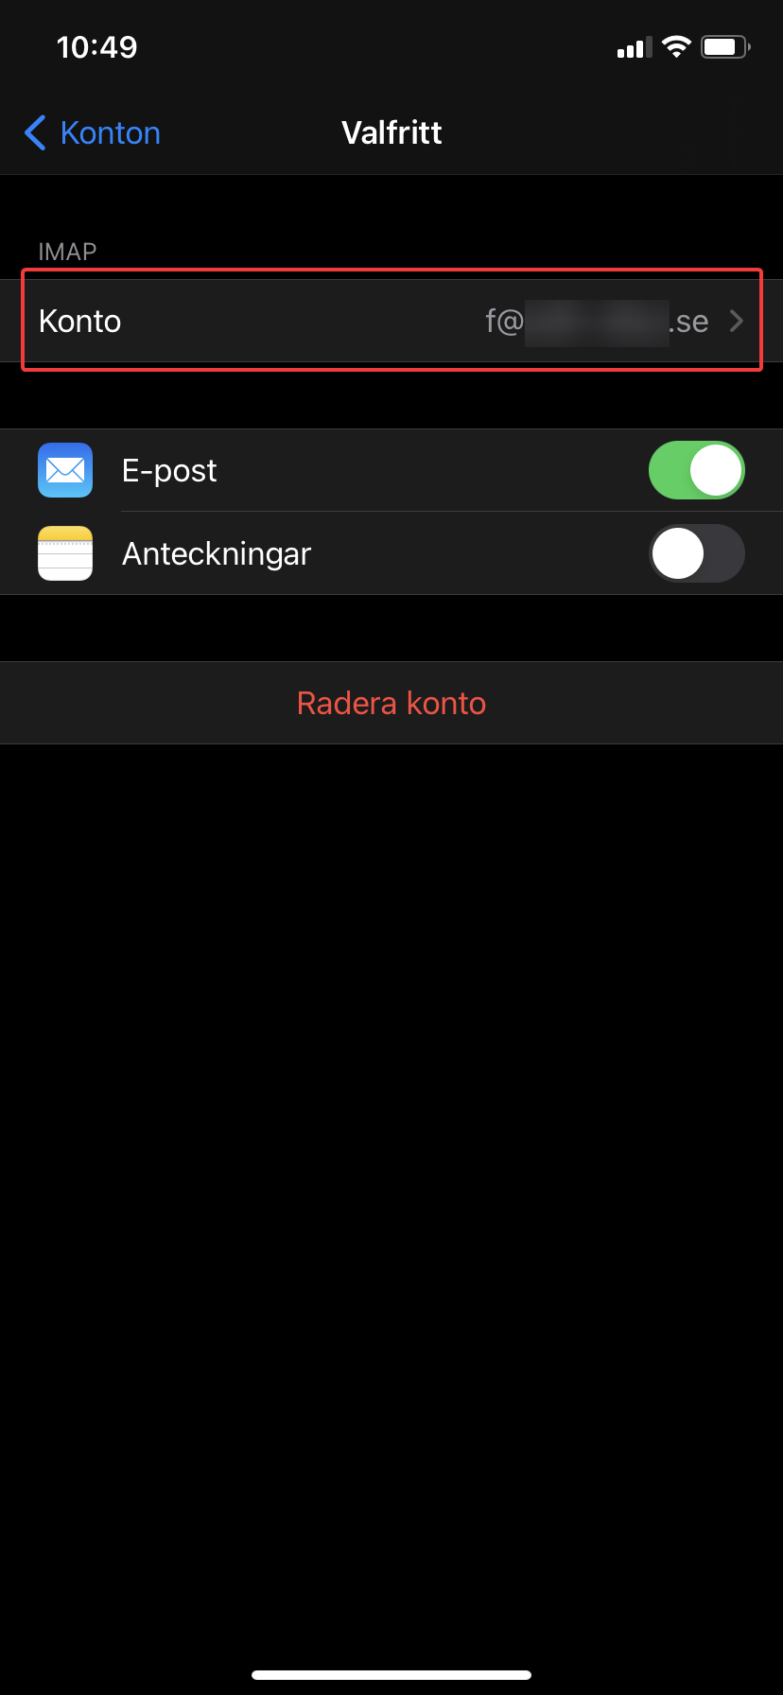
Start by going to “Settings”. Next, select “Mail” and then “Accounts”. Click on the account in question and then on “Account settings”.
Change settings for incoming mail
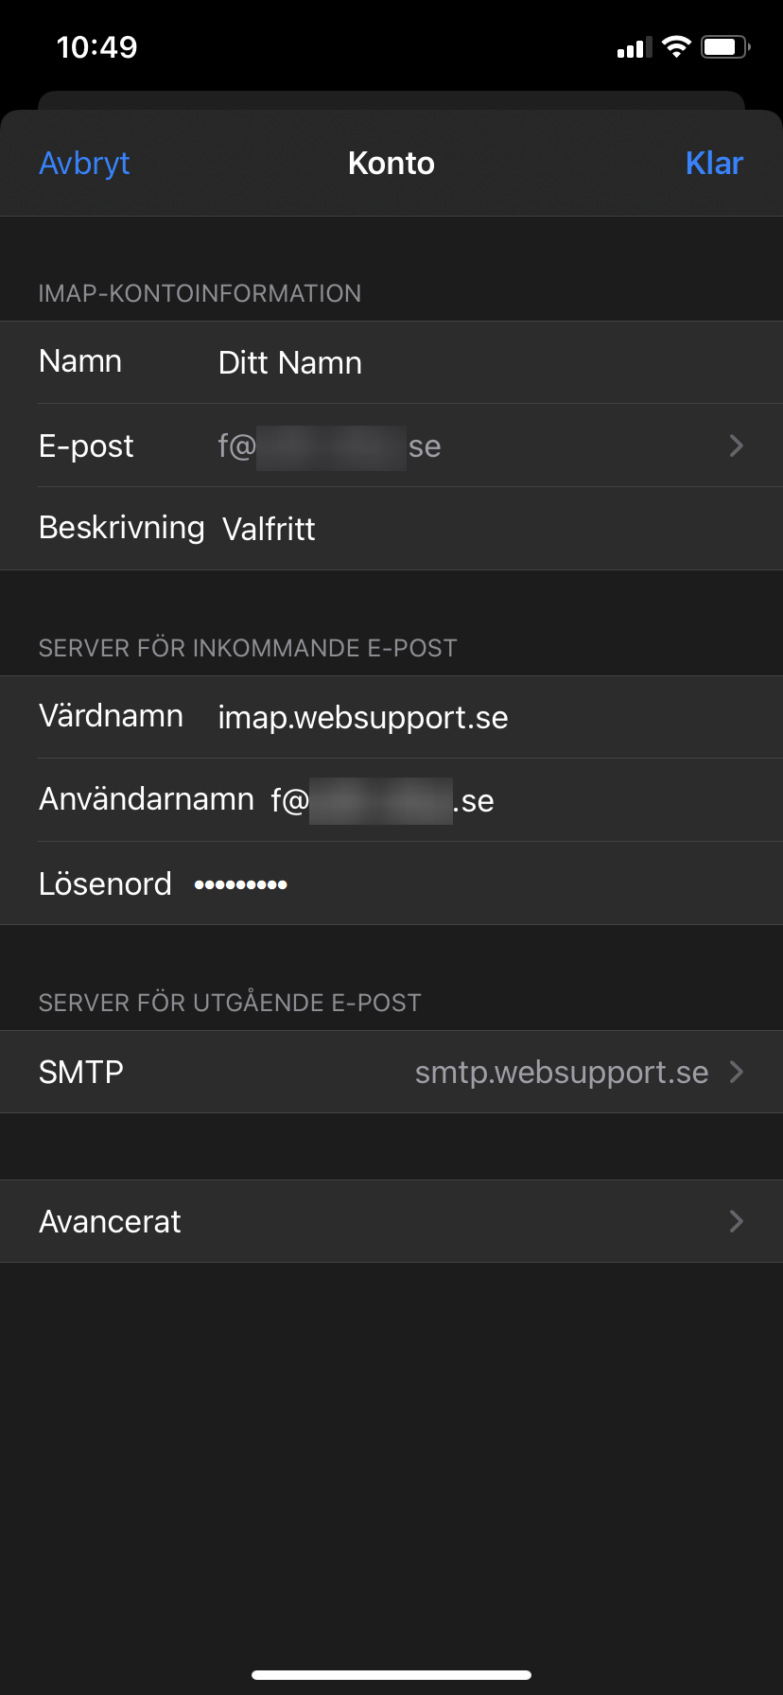
We start by changing the incoming settings. Change the server to “imap.websupport.se” and press “Done” at the top right.
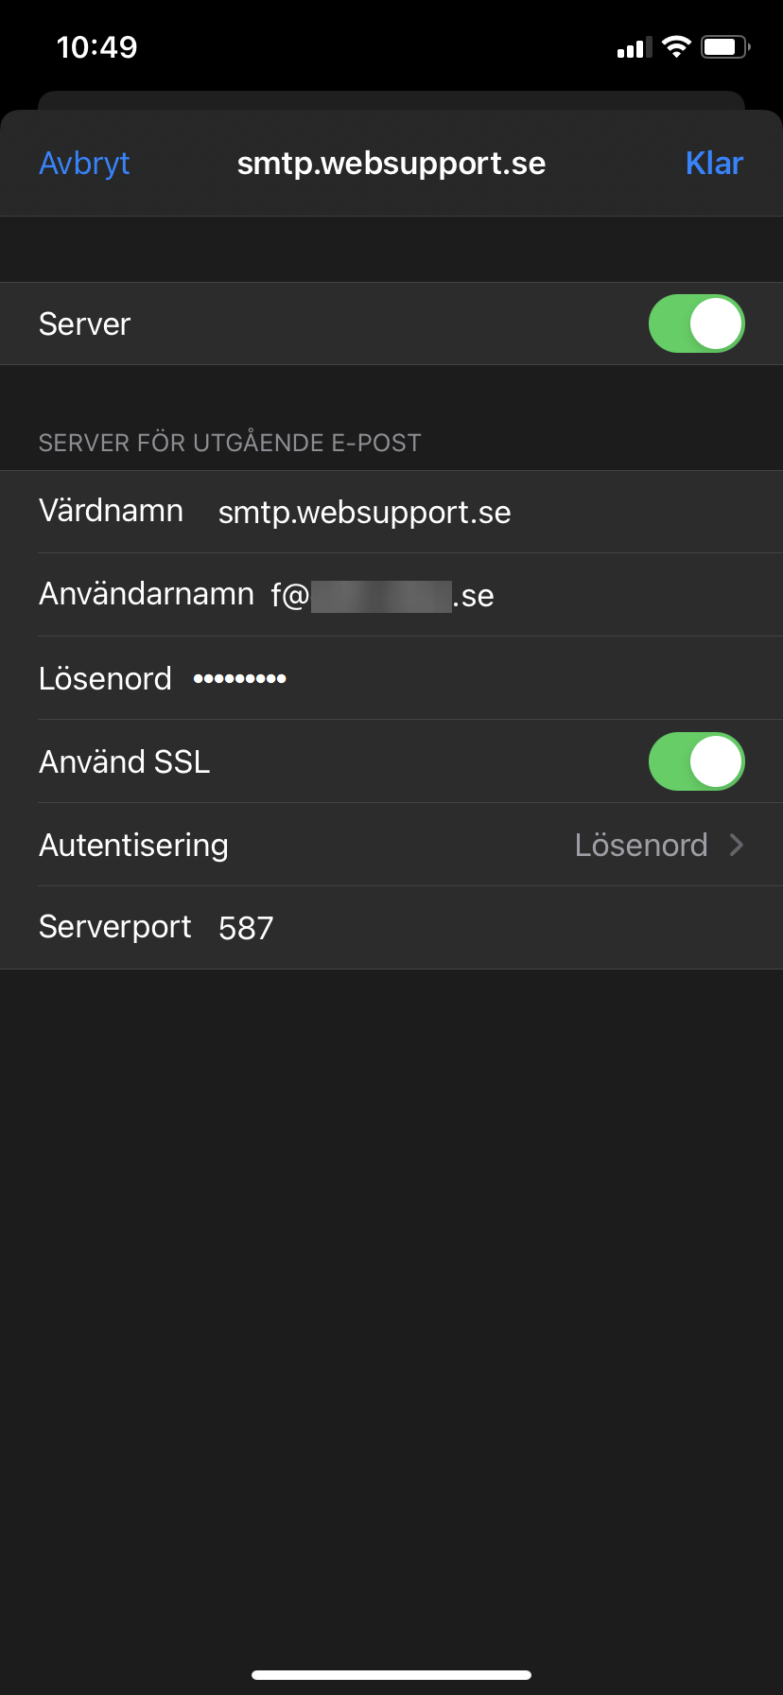
Change settings for outgoing mail
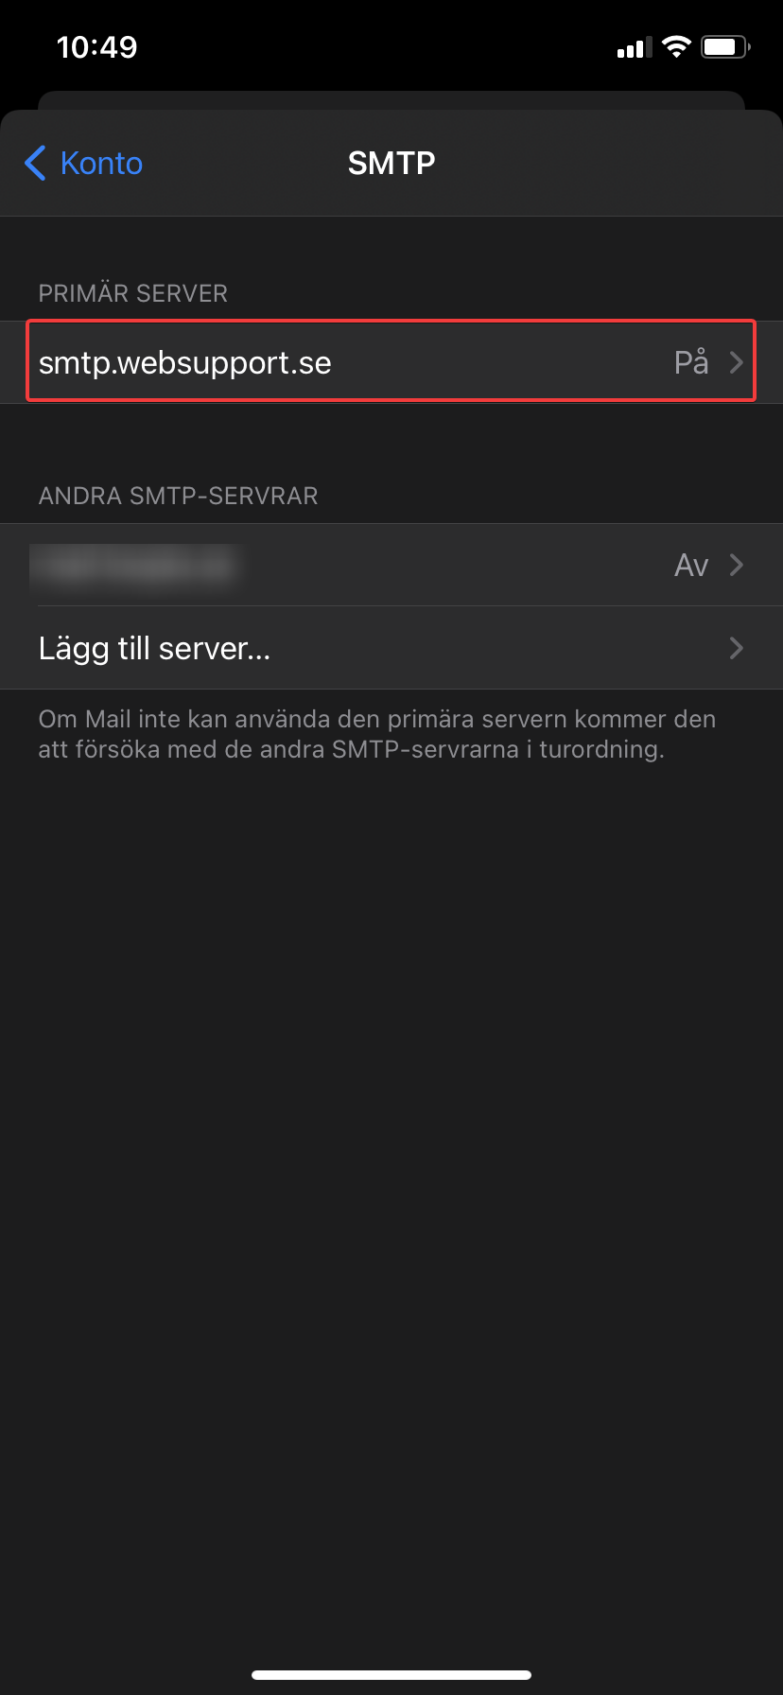
Tap on your account again and then “Account settings” so we end up on the incoming settings. At the bottom, tap the server address for outgoing mail. Press again when it appears under “Primary Server”.
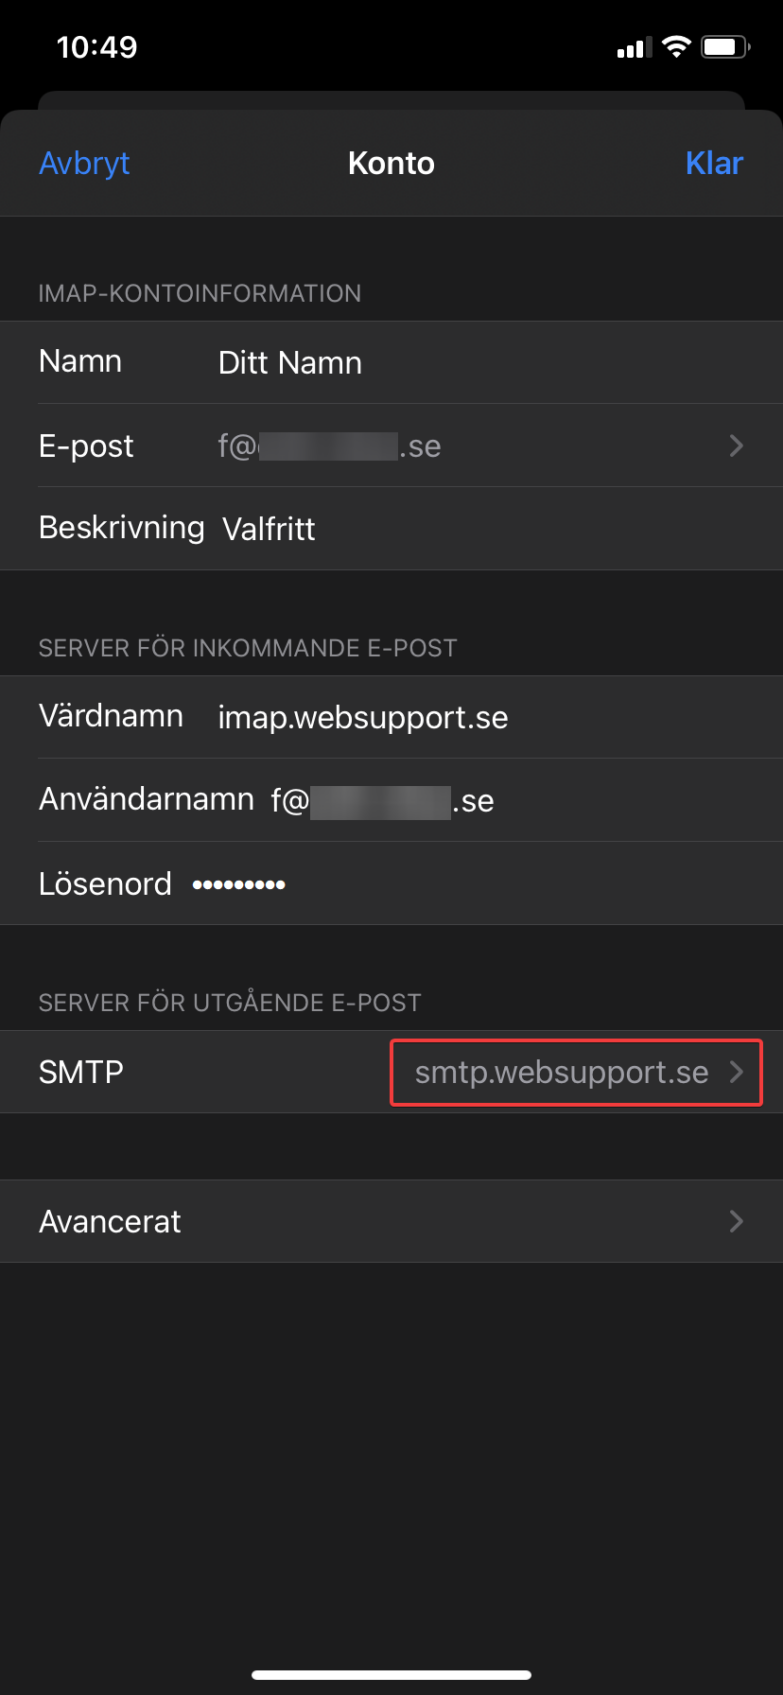
Then change the outgoing server to “smtp.websupport.se”. Then press “Done” at the top right.
After that, everything should work as it should!