On your smartphone, there are several different options for managing your email. We recommend the built-in email client Mail for all iOS devices (iPhone, iPad…).
Manual settings
1. Go to your settings and scroll down to Email -> Accounts.
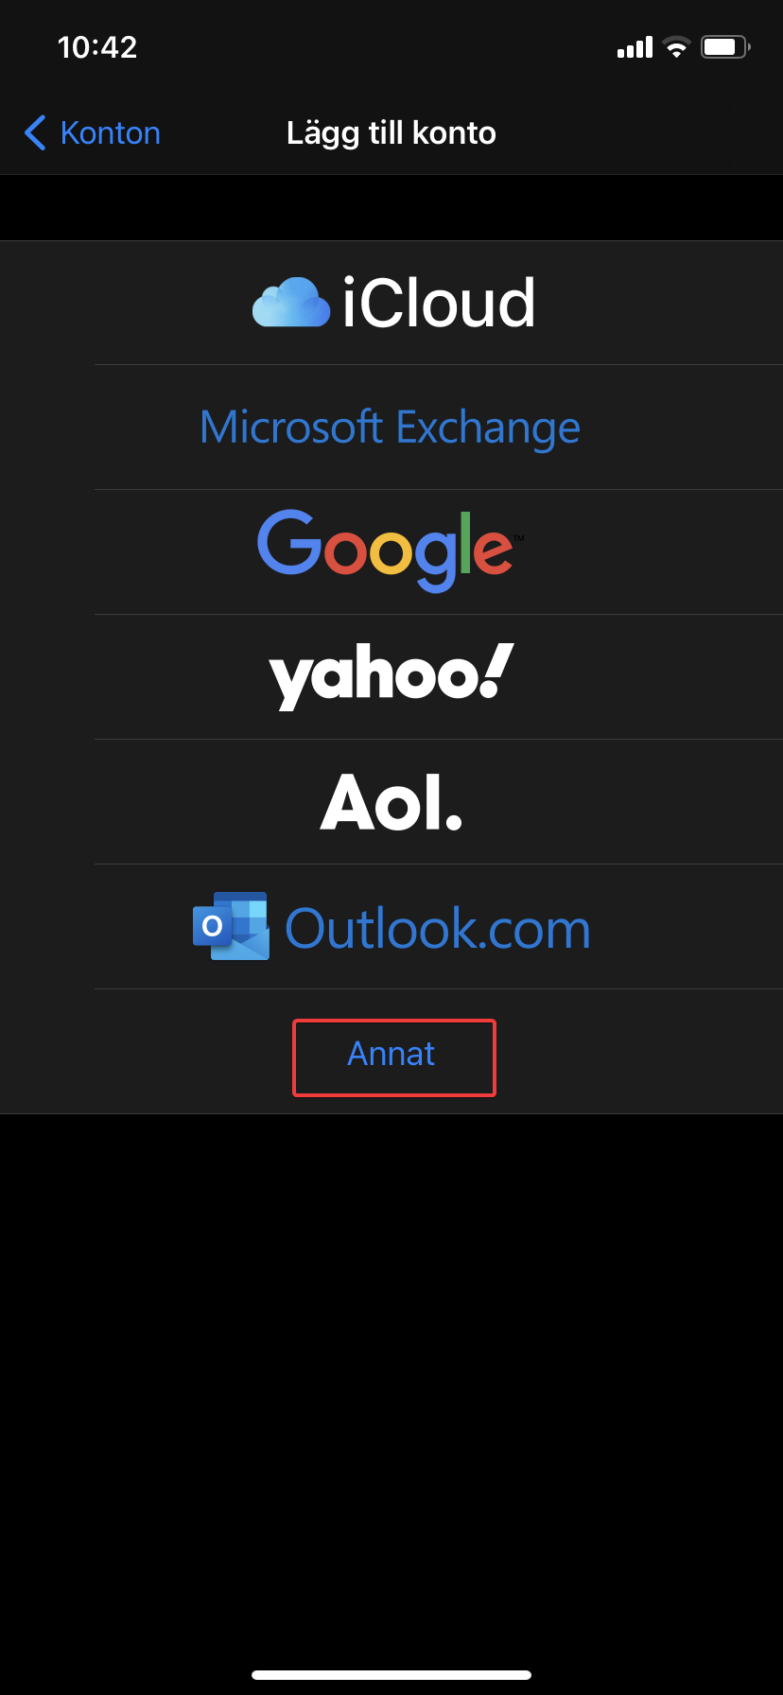
2. Select “Add Account” and select “Other” as the account type.

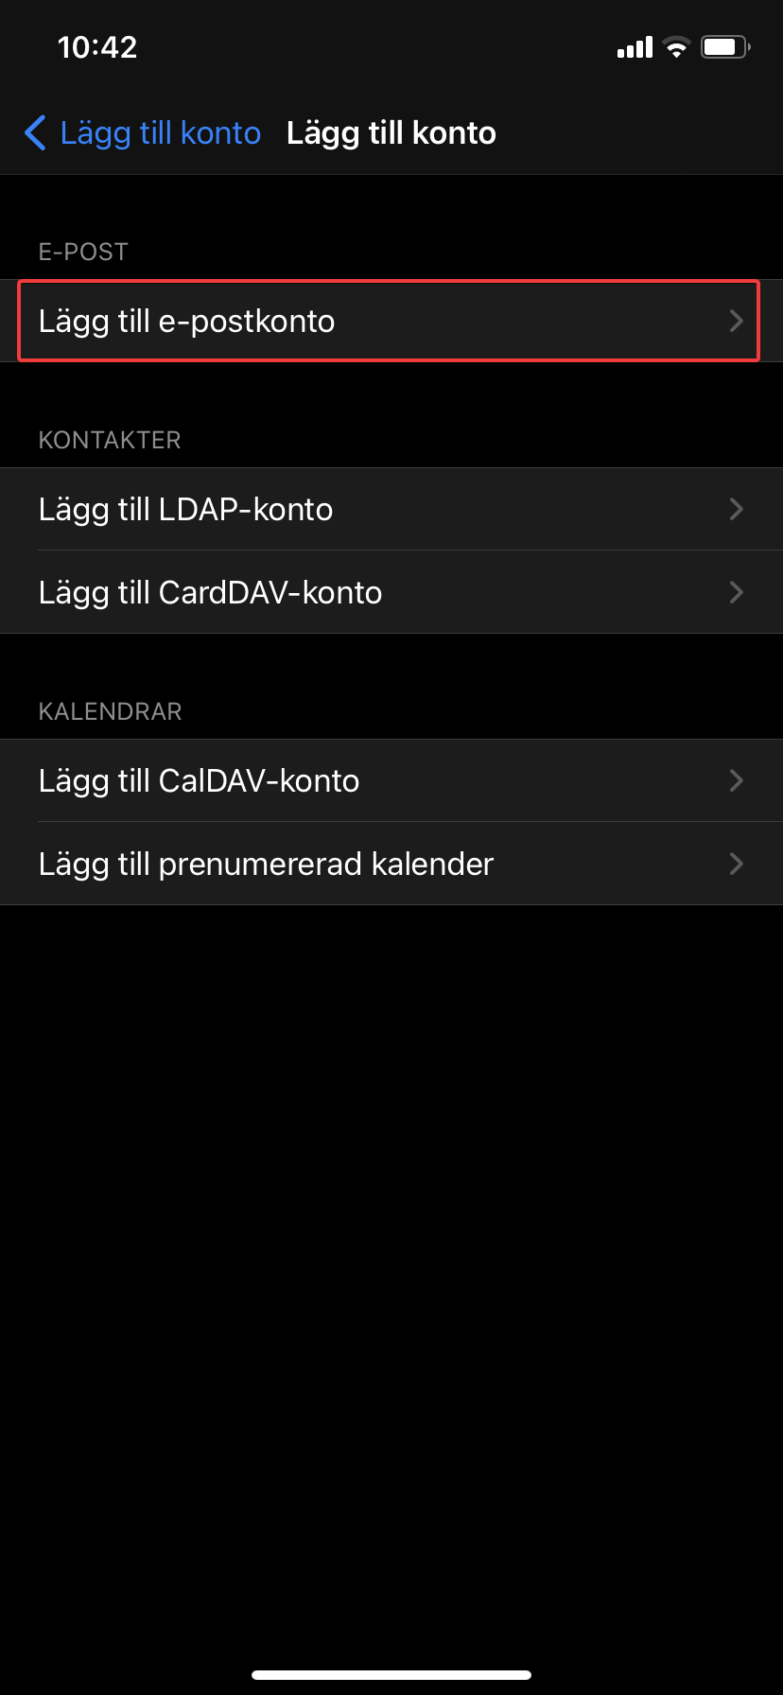
3. Click on the top option “Add Email Account”.
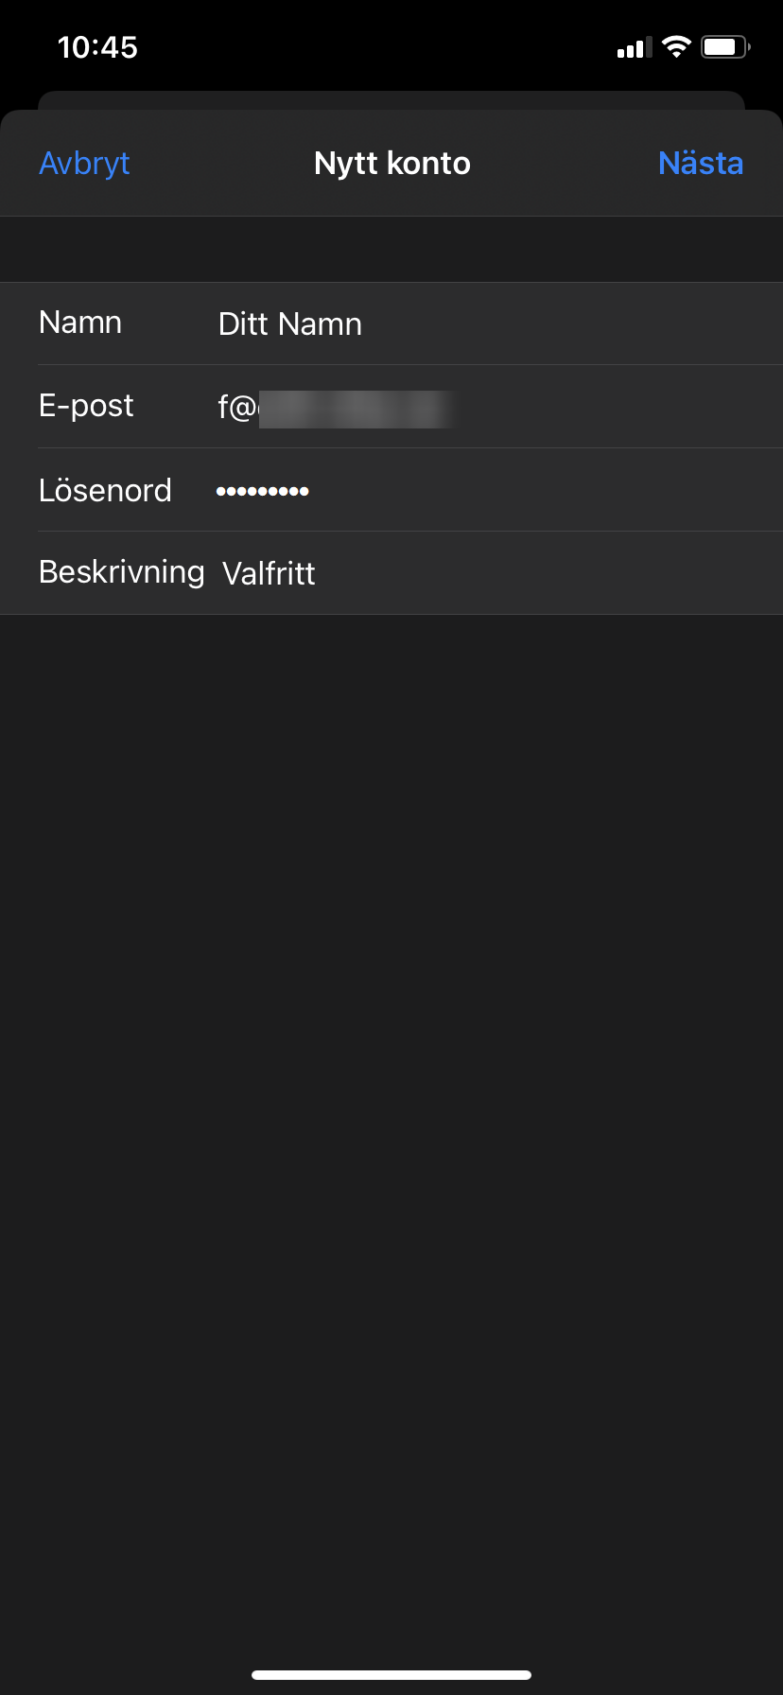
4. Enter your name, email address, password, and account description. Click “Next” to continue.
5. Choose an account type: IMAP or POP3. We recommend that you select IMAP to synchronize your e-mail between all devices where you have the address entered. This is the safe option.
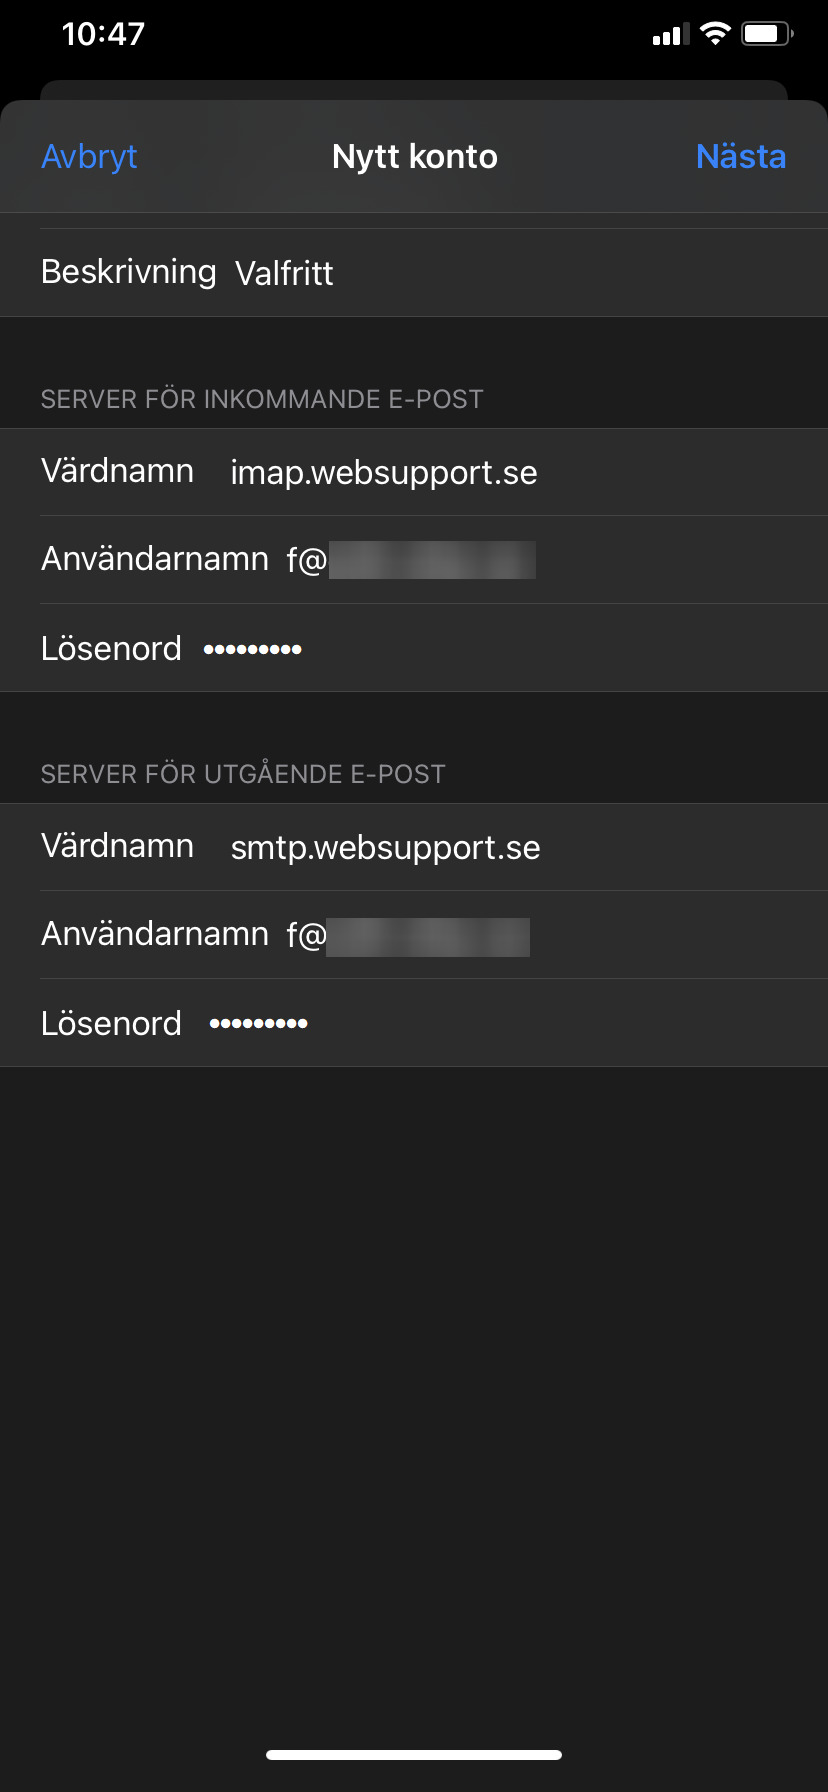
In the incoming server settings, set the following settings. These settings apply to all devices where you enter your email.
- Host: imap.websupport.se
- Username: Your email address.
- Password: Password for your email address
It says “Optional” for username and password for the outgoing settings. However, they are mandatory to be able to send e-mails. You set the outgoing mail server settings:
- Host: smtp.websupport.se
- Username: Your email address.
- Password: Password for your email address
- Select Next to continue
6. Choose which directories to sync from your inbox. Click Save to complete the installation.